Hot Melt Adhesive for Paper Pleating in Air Filter
Introduction
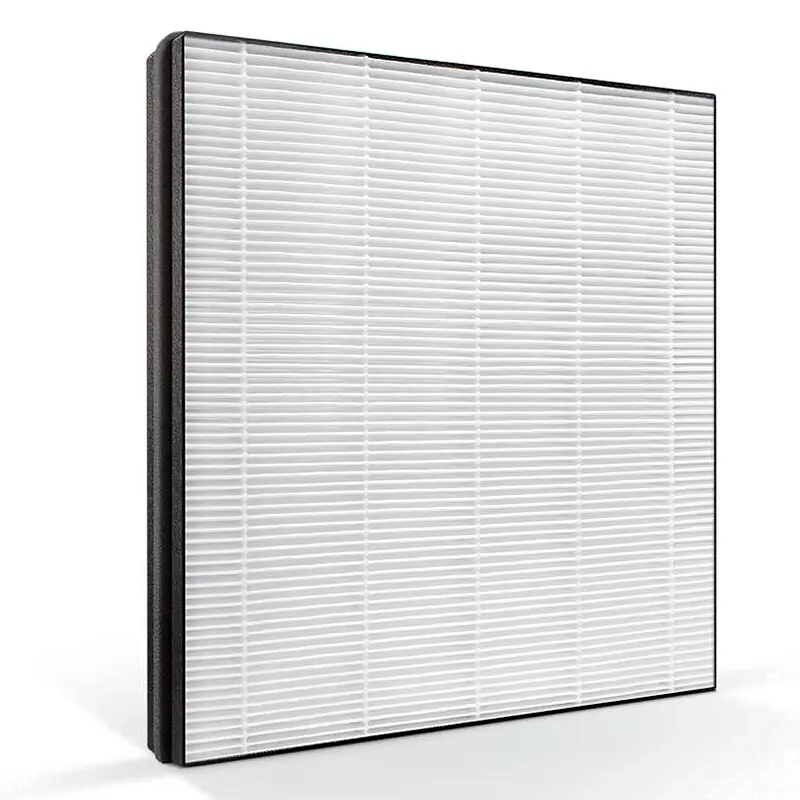
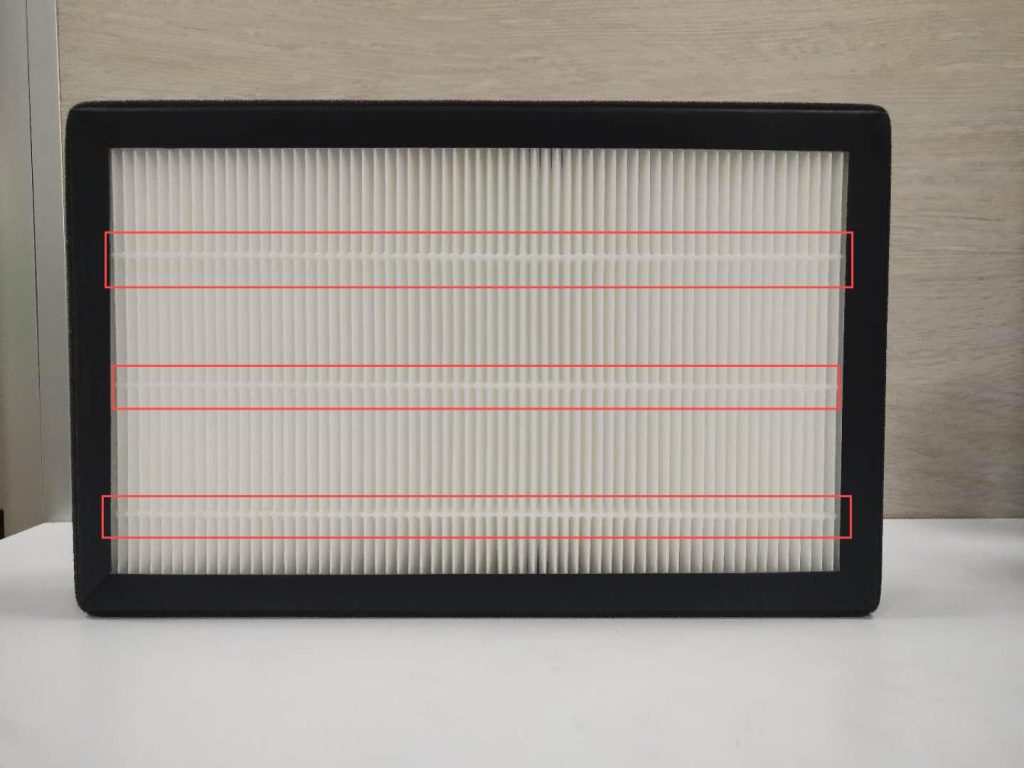
Paper pleating is a critical process in air filter production that transforms flat filter media into the distinctive zigzag configuration essential for efficient filtration. The success of this process—and ultimately the performance of the finished filter—depends heavily on proper adhesive application. Hot melt adhesives play a vital role in securing pleats, maintaining consistent spacing, and ensuring structural integrity throughout the filter’s service life.
This step-by-step guide provides detailed instructions on how to use hot melt adhesive effectively for paper pleating in air filter manufacturing, from material selection to quality verification.
Step 1: Select the Right Hot Melt Adhesive
Choosing the correct adhesive is the foundation of successful pleat fixation. Consider these critical factors:
| Selection Factor | Why It Matters | What to Look For |
|---|---|---|
| Substrate compatibility | Must bond securely to filter paper or nonwoven media | Test adhesion on your specific media type |
| Viscosity | Affects flow, penetration, and application precision | Match to your application equipment (low for spray, higher for dots/beads) |
| Open time | Must align with production line speed | Longer open time for slower lines; shorter for high-speed lines |
| Heat resistance | Filters may encounter warm air during use | Select softening point above expected service temperature |
| Flexibility | Prevents cracking during handling or air flow | Choose formulation with good flexibility for your pleat geometry |
| Color | May affect filter appearance | Clear or white typically preferred for aesthetic reasons |
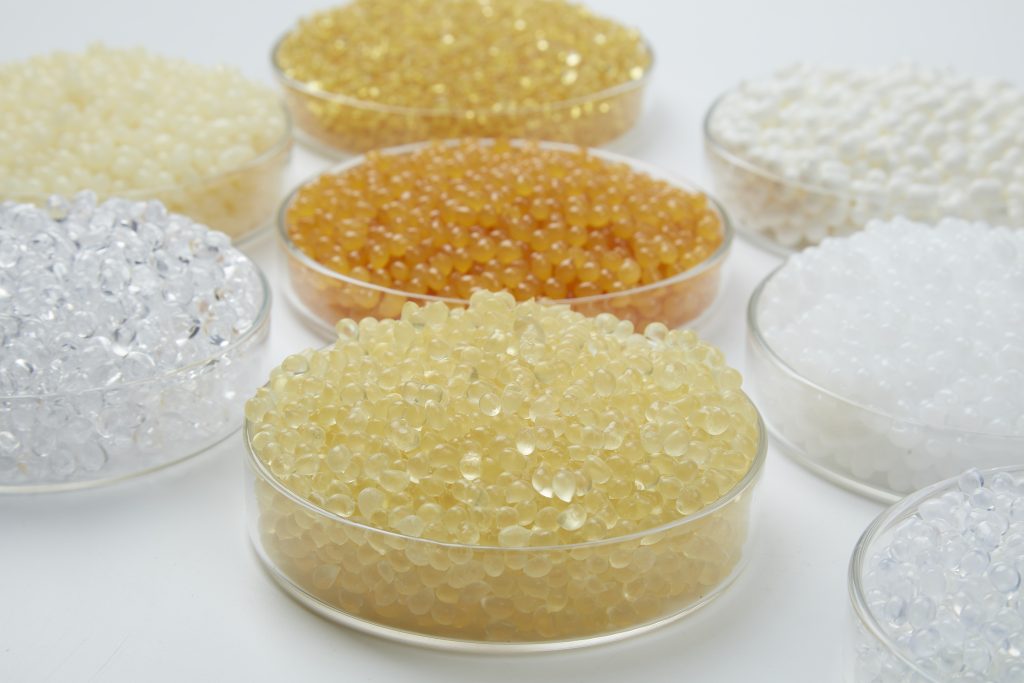
Recommended adhesive types for paper pleating:
| Adhesive Type | Best For | Key Properties |
|---|---|---|
| EVA hot melt | General HVAC filters | Cost-effective, good paper adhesion, fast setting |
| Polyolefin (PO) hot melt | Automotive/industrial filters | Better heat resistance, good flexibility |
| Low-temperature hot melt | Heat-sensitive or thin papers | Application at 120–140°C, minimal paper damage |
Pro Tip: Request samples from your adhesive supplier and conduct trials with your specific filter paper and production equipment before committing to a full-scale purchase.
Step 2: Determine the Optimal Application Pattern
The pattern and amount of adhesive directly impact both pleat stability and filter performance. The goal is to use sufficient adhesive to secure pleats without blocking air flow or adding unnecessary weight.
Common Application Patterns
1. Bead Application
- Description: A thin continuous line along the pleat tips
- Best for: Deep pleats, rigid media, applications requiring maximum stability
- Typical bead size: 0.5–2.0 mm diameter
- Placement: Centered on pleat peaks or in the valley between pleats
2. Dot Application
- Description: Small discrete dots at intervals along the pleats
- Best for: Most standard pleating applications; balances holding power with minimal adhesive use
- Typical dot size: 1–3 mm diameter
- Spacing: Every 2–5 cm along pleat length, depending on pleat height and media stiffness
3. Staggered Pattern
- Description: Alternating dots on alternating pleats
- Best for: Preventing adhesive buildup in one location, distributing hold points evenly
- Typical pattern: Dot on pleat #1, skip pleat #2, dot on pleat #3, etc.
4. Intermittent Bead
- Description: Short bead segments with gaps between
- Best for: Balancing continuous hold with reduced adhesive consumption
- Typical length: 5–15 mm beads with 10–30 mm gaps
5. Zigzag or Wavy Pattern
- Description: Oscillating nozzle creates a wavy line
- Best for: Increasing contact area without excessive adhesive volume
- Typical amplitude: 2–5 mm wave height
How to Choose Your Pattern
| Media Type | Pleat Height | Recommended Pattern |
|---|---|---|
| Lightweight paper (40–80 gsm) | Low (<20 mm) | Small dots, widely spaced |
| Standard filter paper (80–150 gsm) | Medium (20–50 mm) | Dots or intermittent beads |
| Heavy paper or nonwoven | High (>50 mm) | Continuous bead or staggered dots |
Step 3: Integrate Adhesive Application into the Pleating Line
Modern pleating machines can incorporate hot melt application seamlessly. Here’s how the integrated process typically works:
The Complete Pleating Sequence
Stage 1: Media Preparation
- Filter paper unwinds from roll
- Tension controlled to prevent stretching or tearing
- Optional: Pre-heating to improve adhesive wetting (40–60°C)
Stage 2: Pleat Formation
- Blades, reciprocating plates, or rotary drums fold media into pleats
- Pleat height and spacing determined by machine settings
- Media guided to maintain alignment
Stage 3: Adhesive Application (Critical Moment)
- Timing: Adhesive applied at the moment of pleat formation or immediately after
- Positioning: Nozzles align precisely with pleat tips or valleys
- Actuation: Programmable controllers trigger adhesive discharge at exact intervals
Stage 4: Cooling and Setting
- Adhesive solidifies within seconds (typically 3–15 seconds)
- Ambient air cooling sufficient for most applications
- Optional: Forced air cooling for high-speed lines
Stage 5: Accumulation
- Pleated pack stacked or conveyed to next station
- Pleats remain locked and stable for handling
Equipment Requirements
| Component | Function | Key Specifications |
|---|---|---|
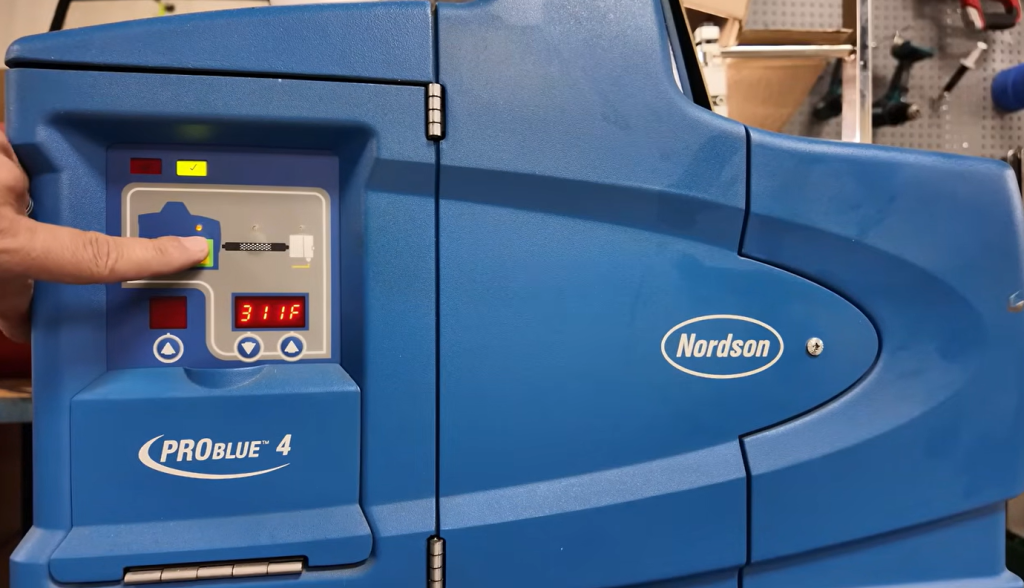
| Hot melt melter | Melts and maintains adhesive temperature | Precise temperature control (±1°C), appropriate melt rate |
| Heated hose | Transports molten adhesive to applicator | Maintains temperature, flexible for machine movement |
| Application gun | Dispenses adhesive on demand | Fast response, consistent shot size, drip-free cutoff |
| Nozzles | Shapes the adhesive output | Mini-orifice for small dots/beads, wear-resistant |
| Controller | Coordinates timing with pleater | Programmable, integrates with machine PLC |
Step 4: Control Temperature and Application Parameters
Precise control of process parameters ensures consistent, reliable pleat fixation.
Critical Parameters to Monitor
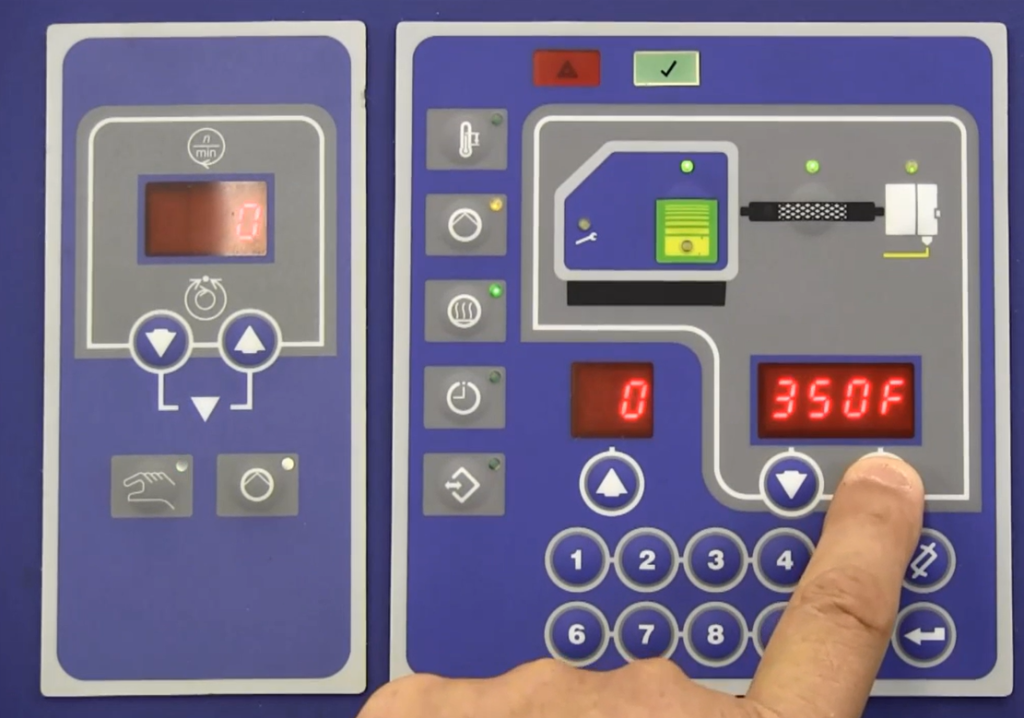
Adhesive Temperature
- EVA hot melt: 150–180°C (typical)
- Polyolefin: 160–190°C
- Low-temperature grades: 120–140°C
- Verify: Check manufacturer’s technical data sheet for exact range
Temperature Stability
- Target: ±1–2°C at application point
- Consequences of deviation:
- Too high: Degradation, charring, smoking, bond weakness
- Too low: Poor flow, inadequate wetting, clogged nozzles
Adhesive Volume
- Dot volume: 2–15 mg per dot (depending on size)
- Bead volume: 0.5–5 g/meter (depending on bead size)
- Control methods: Pressure, nozzle size, on-time duration
Application Timing
- Shot duration: 10–200 milliseconds (typical for dots)
- Frequency: Synchronized with pleat formation rate
- Accuracy: ±1–2 milliseconds for consistent dot size
Nozzle Positioning
- Distance from media: 2–10 mm (typical)
- Angle: Perpendicular to media surface for symmetrical dots/beads
- Alignment: Must hit exact target on pleat tip
Parameter Adjustment Guidelines
| Issue | Likely Cause | Adjustments to Try |
|---|---|---|
| Dots too large | Excessive volume or low viscosity | Reduce pressure, shorten shot duration, lower temperature |
| Dots too small | Insufficient volume or high viscosity | Increase pressure, lengthen shot duration, raise temperature |
| Poor adhesion | Wrong temperature or contaminated media | Adjust temperature, clean media, check adhesive compatibility |
| Stringing | Adhesive too viscous or too hot | Lower temperature, try low-stringing grade |
| Missed dots | Timing or alignment off | Verify synchronization, adjust nozzle position |
| Bleed-through | Too much adhesive or low viscosity | Reduce volume, use higher viscosity adhesive |
Step 5: Verify Pleat Integrity
Quality verification ensures that the pleating and adhesive application process is producing consistent, reliable results.
Visual Inspection Checklist
- All pleats securely locked in position
- No loose or shifting pleats when pack is handled
- Adhesive dots/beads present at all intended locations
- Consistent dot/bead size across the entire pack
- No excessive adhesive bleed-through on visible surfaces
- Clean appearance with minimal stringing or mess
Quantitative Measurements
Pleat Spacing Consistency
- Measure distance between adjacent pleats at multiple points
- Target: Within ±1–2 mm of specification
- Variation indicates uneven pleat formation or adhesive issues
Adhesive Weight
- Weigh filter pack before and after pleating (if possible)
- Track adhesive consumption per filter
- Sudden changes indicate application problems
Pull Test (Destructive)
- Gently separate pleats at adhesive points
- Should feel resistance; paper may tear before adhesive fails
- Weak bonds indicate adhesion problems
Common Defects and Solutions
| Defect | Description | Likely Causes | Solutions |
|---|---|---|---|
| Pleat spring-back | Pleats partially unfold after adhesive application | Insufficient adhesive, open time too short | Increase volume, use longer open time grade, pre-heat media |
| Pleat collapse | Pleats lean or fall over | Adhesive too slow-setting, insufficient hold points | Faster-setting adhesive, more application points |
| Adhesive skipping | Missing dots/beads at some positions | Nozzle clog, timing error, pressure fluctuation | Clean nozzles, verify timing, check pressure stability |
| Media tear at bond | Paper tears at adhesive points | Adhesive too aggressive, paper too weak | Use lower adhesion grade, reduce application temperature |
| Inconsistent spacing | Variable distance between pleats | Media tension issues, pleater mechanical problem | Check media tension, inspect pleater mechanism |
Step 5: Verify Pleat Integrity
Pro Tips for Optimal Results
Tip 1: Match Adhesive to Line Speed
| Line Speed | Required Open Time | Recommended Approach |
|---|---|---|
| Slow (<5 pleats/min) | 30–60 seconds | Standard EVA, longer open time grades |
| Medium (5–20 pleats/min) | 15–30 seconds | Standard EVA, adjust temperature |
| Fast (20–50 pleats/min) | 5–15 seconds | Fast-setting EVA or polyolefin |
| Very Fast (>50 pleats/min) | <5 seconds | High-speed formulations, possibly in-line cooling |
Tip 2: Consider Environmental Factors
- Ambient temperature: Cold shops may accelerate adhesive setting (reduce open time)
- Humidity: High humidity can affect paper properties and adhesion
- Air movement: Drafts can cool adhesive prematurely
Tip 3: Maintain Equipment Regularly
| Task | Frequency | Importance |
|---|---|---|
| Clean nozzles | Daily | Prevents clogging and inconsistent application |
| Check temperature sensors | Weekly | Ensures accuracy |
| Inspect hoses for damage | Monthly | Prevents leaks and temperature loss |
| Calibrate shot weights | Monthly | Maintains consistent volume |
| Full system cleaning | Quarterly | Prevents char buildup |
Tip 4: Document Everything
Keep records of:
- Adhesive lot numbers
- Temperature settings
- Pressure settings
- Shot timing parameters
- Any adjustments made
- Quality check results
This documentation helps troubleshoot issues and ensures consistency across production runs.
Conclusion
Using hot melt adhesive for paper pleating is a precise but manageable process that directly impacts air filter quality and performance. By following these five steps—selecting the right adhesive, determining the optimal application pattern, integrating with your pleating line, controlling parameters carefully, and verifying results—you can achieve consistent, reliable pleat fixation that stands up to handling and service conditions.
Remember that every filter design and production line is unique. Use this guide as a starting point, but always conduct your own trials and adjustments to optimize for your specific materials, equipment, and requirements.
For more information,Please Contact:
Allen Kong
Oversea Business Manager
sales001@tong-de.cn | www.devoteglue.com
Tel/whatsapp : +86 18822882087 (Allen)
Understanding Hot Melt Adhesive Open Time: What It Is and Why It Matters
Polyamide Hot Melt Adhesive High Temperature Guide: Reading the Spec Sheet
Hot Melt Adhesive for Edge Banding: Ensuring Clean Bonds in Furniture Manufacturing